From Sea to Sky: A Bikepacking Tale
The area above San Francisco has always been a place in my heart that keeps drawing me back, so when it came to choosing my next bike-packing adventure the destination was a no-brainer. As I've spent years traveling through the area—photographing and surfing in the Bolinas—It has grown even more enticing. Point Reyes is magical…you have the beach and the mountains right there, plus it’s very secluded yet not too far from the city.
This route was inspired by a similar route I read on bikepacking.com when researching 2–3-day trips. Northern California provides an ideal climate for me, not too hot or cold, and plenty of spots to stop for food and coffee! My friend Pat Shields mapped the route. He lives in Point Reyes station, so of course I put my full trust in him, and he didn't disappoint. The route was essentially a 100-mile, 8,700 ft elevation gain loop over two and half days starting from Point Reyes Light House down through Mill Valley, cutting back up Mount Tamalpais and along the Bolinas Ridge back to Point Reyes. (You can find the Strava route here).

Once the route was ironed out, I started to recruit some friends. I believe having the right people can make or break any adventure’s vibe, so I am very thankful for this trip’s crew! In the early planning stages, it was Pat and me. I met Pat on a backpacking trip a couple of months before and we instantly connected. He is one of those guys who is down for whatever, no matter how hectic or uncertain it might be, and always keeps the vibes high. As Pat and I dialed in more details of the route and committed to dates, I invited my friend Dani Noguera whom I’d met for the first time the previous weekend on a USAL camping trip. (Sidenote: Dani is the founder of Grin 27—a cycle clothing brand based in LA—and was kind enough to give us bibs for this trip). Dani and I talked a little about bikes, outdoors, and misc topics when I popped the question: “Hey, you should come bike-packing next weekend with a complete stranger for 3 days with me.” The rest, so they say, is history. It wasn't until our 6-hour drive into San Fransisco that I really got to know Dani. It was then that I learned he bike bikes. We're talking 100 miles on the regular—but this was his first bikepacking trip. We had the team, we had one Zoom call to go over the logistics, and then we started packing!
I always plan for the worst. I plan for rain, snow, and wind and temps to be in the teens. And I always bring board shorts no matter what trip. You never know when you might need them. I come from years of backpacking and spending time in the outdoors, so most of the equipment I had from backpacking I use for bikepacking. I have focused a lot of my gear over the years on minimalizing my equipment footprint and going ultra-light.

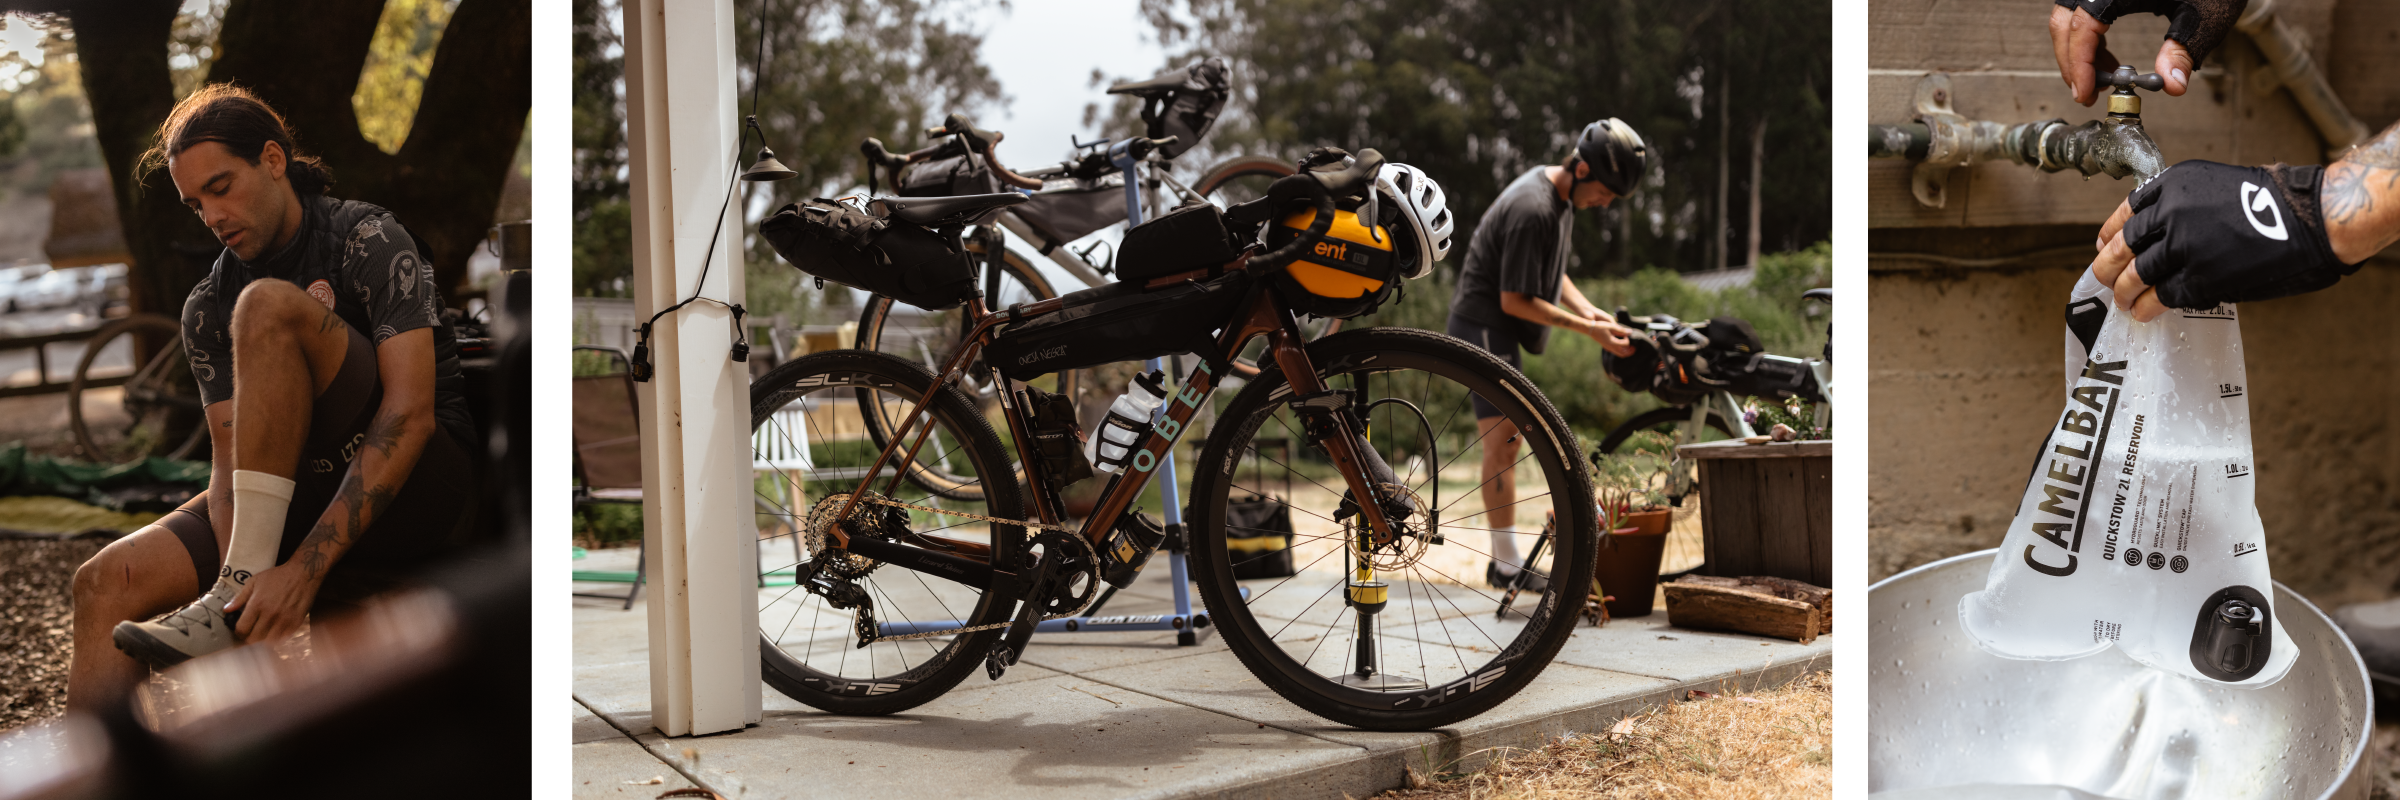
The most crucial piece of equipment would have to be my OBED Boundary, and keeping it maintained and dialed before each trip is part of my ritual. It’s comforting knowing that I don’t have to worry about its performance when it comes to my bike-packing trips. I love how tight and strong it feels when I ride, along with all the options it has to carry all my gear.
When it comes to packing, I break out my packing into three departments:
Clothing
- Patagonia down puffer jacket
- Set of Smartwool thermals
- Patagonia long-sleeve sun shirt that dries quickly to protect from UV
- Bibs and socks by Grin27
- I pack kind of minimal, only what I need so just work these throughout the duration of the trip and just layered on and off.
Camping Gear
- Big Agnes UL Sleeping bag 20 Degree
- Nemo Pillow
- Nemo Tensor Sleeping Pad
- Black Dimond Bivy
- Snowpeak backpackers cup and spork
- 4 Energy Gels and lots of snacks
Camera Gear
- Canon R5 Body(strapped to my chest via Hyperlite Camera Pod)
- Canon 35mm ii f/2(usually stays on body)
- Canon RF 85mm f/1.2(in my hydration backpack)
- Mavic 3 Classic Drone(kept in frame bag wrapped with shirt)
- Extra batteries for Canon and drone and memory cards
- Goal Zero 75 Battery to charge a phone, camera gear
Bike: OBED Boundary
- Size: Medium
- Paint/Graphics: Copper Penny with Mint Graphics
- Components: SRAM Force XPLR eTap AXS 1x 40T with 10-44 cassette
- Wheels: FSA SL-K AGX i25 Carbon 700cc
- Cockpit: FSA stem and bar
- Saddle: Brooks
- Pedals: Shimano XT
- Bags: Oveja Negra + misc
- Bottle Cage: Vision Metro
Little note about my gear; I wouldn’t be caught dead without my sleeping setup! Always a warm sleeping bag (Big Agnes UL 20 degree down), bivy (Black Dimond twilight), Nemo Tensor sleeping pad, and Nemo pillow. Pretty much I’m good to go if my sleeping situation is dialed. I hate being cold…and if you have ever spent a night cold it’s the worst and you will make sure it never happens again.

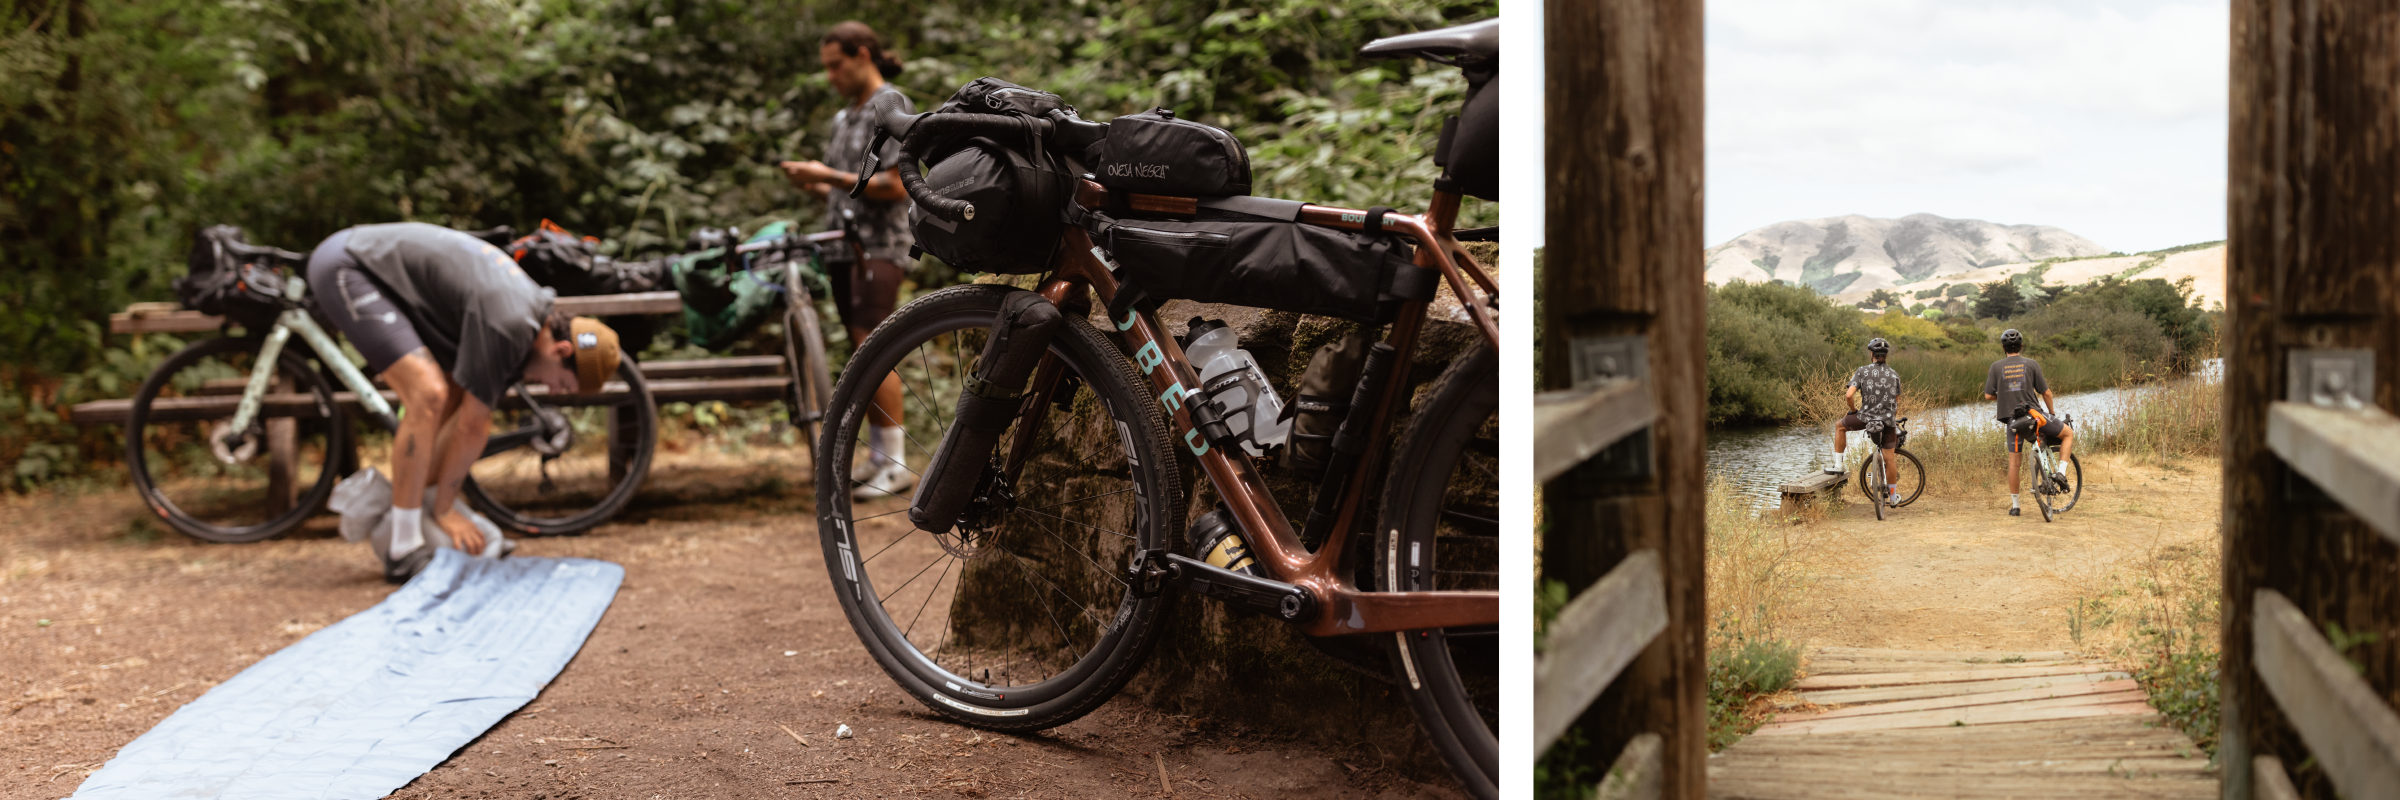
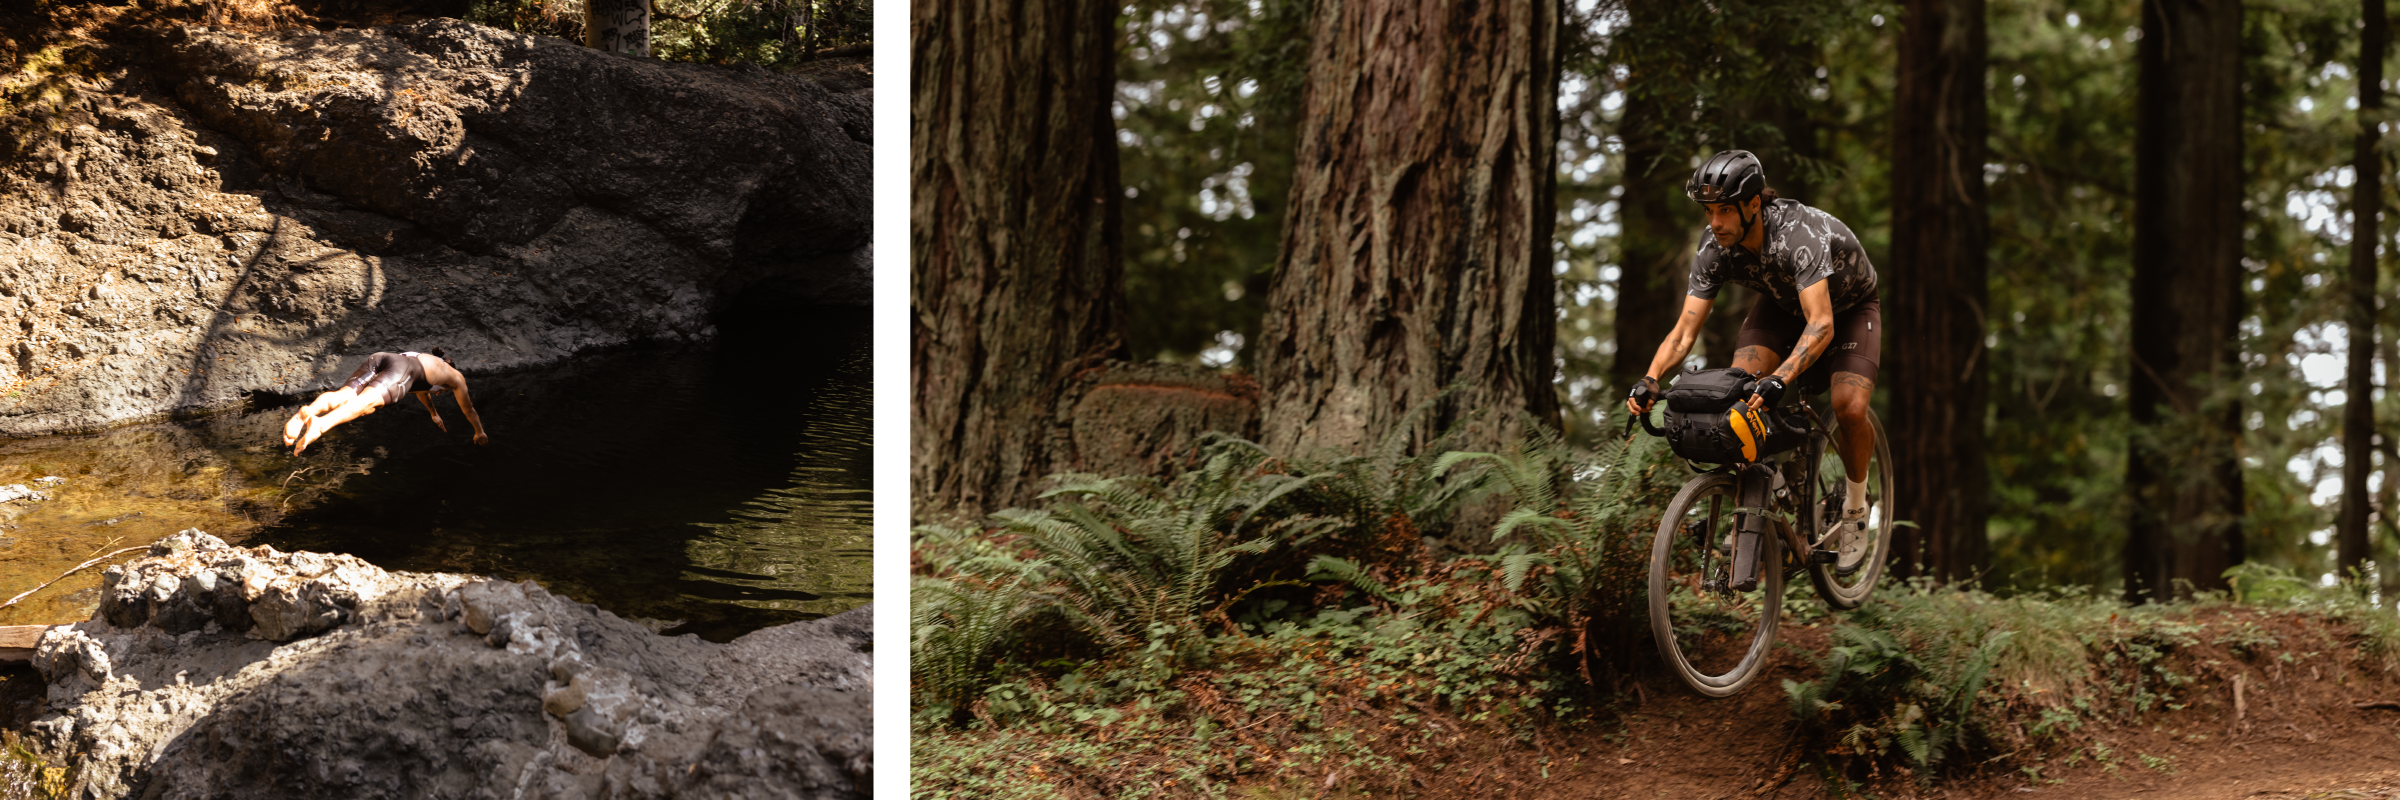
I can’t say enough good things about the views on this trip. The whole route was just so magical for me! I spent years camping and surfing up in Marine Country, so the nostalgia was potent. It felt unreal riding down these roads that I had only driven in the past while also exploring new neighborhoods. You could probably do this route in one day if you charge but what is the fun if you can’t enjoy it? We wanted to take our time and break it out into two nights. The landscapes went from beaches to redwoods, to small towns, to mountaintop views stretching to the horizon. I think when it comes to bikepacking - it’s about the journey of getting there, not racing to get there. There were so many amazing food stops, water fill-ups, and coffee shops in each town we didn’t have to pack a camp stove or food. My favorite part of the whole trip was seeing all the towns along the way; from Samuel P. Taylor Park, Lagunitas, San Anselmo, Mill Valley, Muir Woods, and Mount Tamalpais.
As a photographer, it was of course one of my top priorities to capture the mood of this trip well. We were feeling the comradery and adventure – and I wanted that feeling to shine through my photos/video content. My favorite work is based around the people I’m with; whether it’s photographing artists, athletes, or just documenting my friends. I love to capture real moments that feel authentic to them. Don’t get me wrong, I love a great epic landscape with a strong subject, but I always prefer a good environmental portrait, usually with a 35mm prime lens, where there’s a subject and just enough background to give context. So usually on all my adventures…I kind of always keep an eye out for an organic moment to unfold before my eyes and I hope I have my camera ready to capture it.

My favorite moment of the trip, you ask? Let me tell you – I was riding through Mount Tamalpais for sunrise before any cars were allowed on the road…we had the entire ridge to ourselves! I was taking drone videos and Canon r5 photos all over this section of the trip! It was bliss…I’ve never experienced that in my life. If anyone is planning on doing this route…ride this section in the morning before 9 a.m. before they open the road to cars…it’s a game changer. It’s insanely packed every day at sunset here and to see it empty is just insane.
After tucking a few backpacking trips under my belt, I can’t recommend it enough. If you’re curious, and you want some advice, here it is. Choose a beginner-friendly route and...just go! Just do it! Don’t think too much about what gear you don’t have or your experience. Just go ride bikes with your friends. I always say “Run what you brung”, which means run whatever bike you have and strap the things you need to stay out longer. Until next time!

